How to Set up and Take the Best Ice Bath at Home
As you likely already know, there are many benefits to plunging into ice-cold water, especially when it comes to training and recovery. By now, you may have decided that you are ready to embark on an ice bath journey at home for convenience, privacy, cost, or flexibility. Whatever your reason for at-home ice bathing, we'll give you just the guidance you need to maximize your experience.
In this article, we'll cover what exactly an ice bath is, its benefits, and how you can set up an effective ice bath for yourself at home to achieve the best experience and be your best self!
Overview:
- What is an Ice Bath?
- What Are The Top Benefits of Ice Baths?
- Get More Control and Comfort During Your Ice Bath Sessions
- How to Set Up and Take the Best Ice Bath at Home
- Know the Risks Associated with Ice Baths
- Drawbacks of At-Home Ice Baths
What is an Ice Bath?
An ice bath, or cold immersion, is a form of therapy that involves sitting or standing in a tub of cold water mixed with ice cubes. The temperature of the water is typically between 39–60°F. The duration of an ice bath can vary depending on your tolerance, but it is generally recommended to stay in the tub for no longer than 10 minutes.
What are The Top Benefits of Ice Baths?
When it comes to the benefits that cold plunging brings, there are many. Here is a quick overview of just a few of them:
Reduce muscle soreness
During a hard workout, you stress your muscles and the fibers begin to break down. This causes pain, which can be relieved by cold plunging. Not only that, but you'll also be speeding up your muscle's recovery process.
Improve workout recovery
With an ice bath, you'll improve your workout recovery by changing the way blood and other fluids flow through your body. Cold immersion will constrict and open your blood vessels manually. This helps to move stagnant fluids that may be in your lymph nodes throughout your body. An ice bath also causes increased blood flow which will flood your cells with oxygen and nutrients, which will help your body recover after exercise.
Improves immune system
Research has shown that taking an ice bath can boost your immune system by creating a significant increase in white blood cells, which are key to fighting off infections. This ultimately makes us more resistant to infections.
Stress management
If you find that you're struggling to manage stress, an ice bath could be a great solution. When we experience stress, our bodies release a hormone called cortisol. Studies have shown that spending time in an ice bath can help to lower cortisol levels and reduce stress.
Get More Control and Comfort During Your Ice Bath Sessions
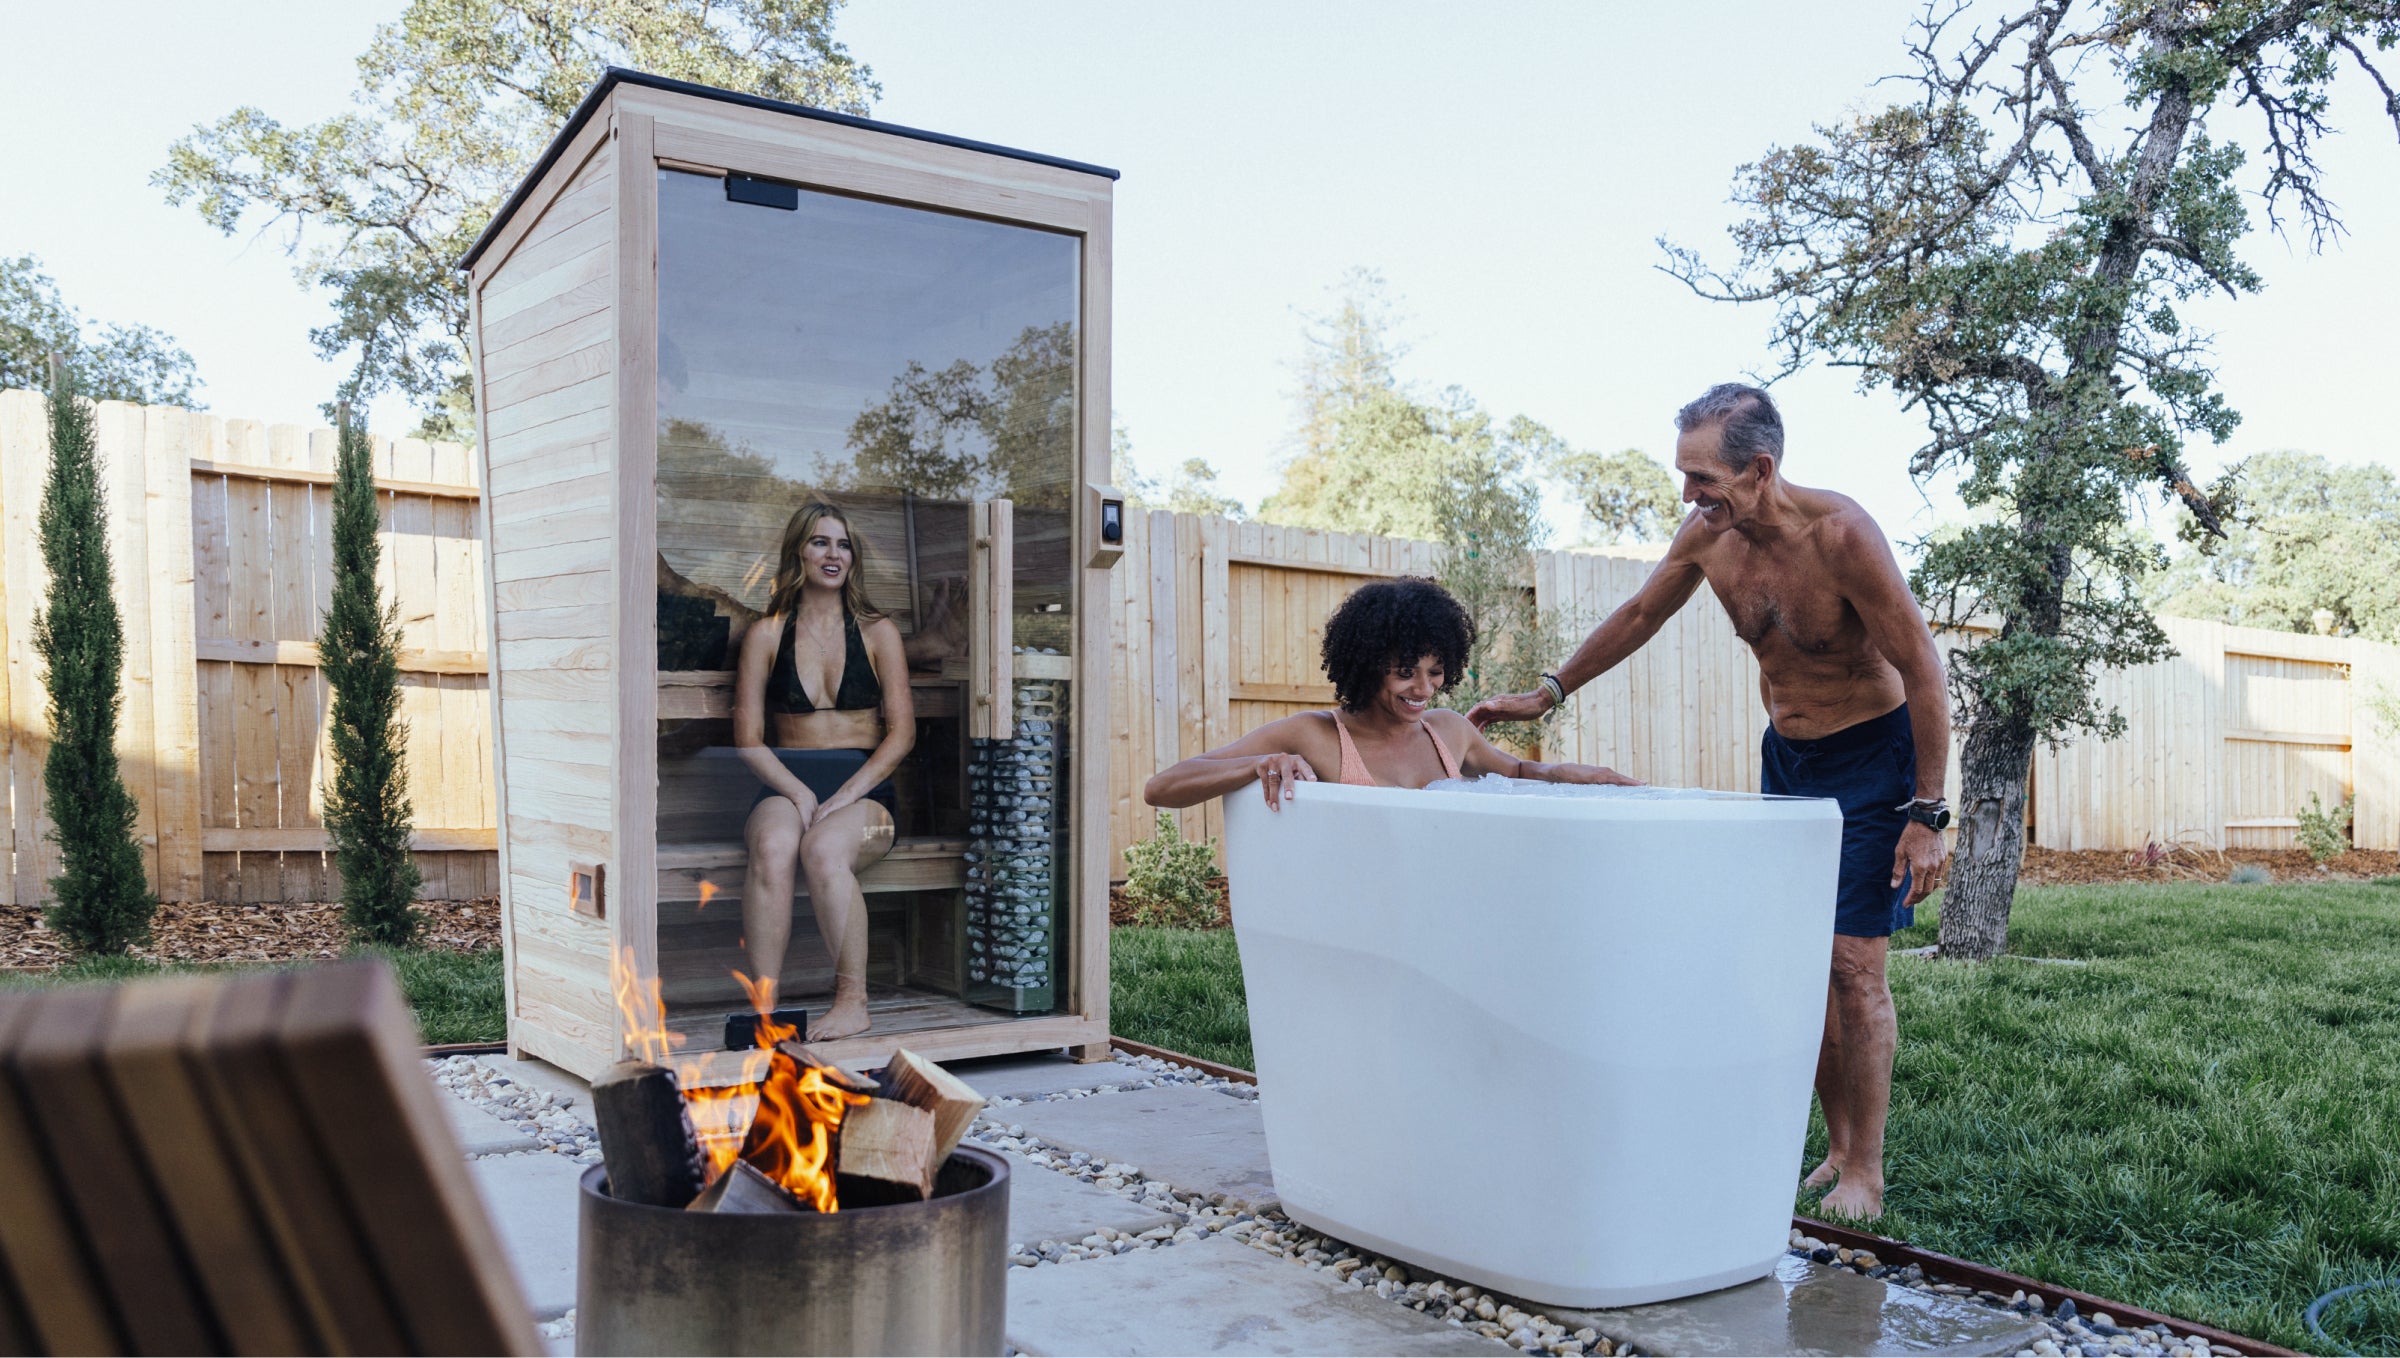
Save time and effort during ice bathing sessions using the Cold Plunge tub. It's a revolutionary product that uses powerful cooling, sanitation, and filtration to give you clean, cold water when you need it so you can focus on enjoying the cold plunge process rather than dreading set up and clean up. Plus, you can get FREE protocols to maximize your experience.

The Cold Plunge uses a plug and plunge system, with hardly any work required at all.
To set it up, all you have to do is fill it with water from the hose, turn it on, set the temperature that you would like, and you're good to go. You'll receive all the benefits of an ice bath without any of the hassles. Plus, with our free protocols above, you'll maximize all the great benefits of ice bathing.
How to Set Up and Take A DIY Ice Bath at Home
Step 1: Prepare your post-bath clothing & towel
First, get your clothing and towel ready for afterward. You don't want to get out of freezing cold water just to run around the house and try to find what you need to warm up. Set aside a towel or two to dry off with then have something warm to change into as soon as you get out of the tub. A robe, sweatpants, and a sweatshirt are all good options.
Step 2: Fill a tub with cold water, then dump in the ice
Fill the tub with cold water up to your desired level and then slowly add ice. You'll want the water to be as cold as you can tolerate so start by adding ice slowly and then testing the water temperature. If you are a beginner or have low cold tolerance (totally ok), set yourself up for success by starting around 55-60°F.
Step 3: Set a timer
You really only need 2-3 minutes to get the benefits, so start there.
It's important not to stay in the bath longer than 10 minutes.
Step 4: Enter the ice bath
Take a few slow, controlled breaths through your nose. Enter the tub on an exhale.
Step 5: Focus on your breath
Once you're in the tub, you'll notice an immediate shock to your system. This is a good thing—it's what we want to happen. Your breathing will be shallow at first, and the only thing you need to focus on is controlling it. The goal is to get your breaths to 5-8 per minute.
Step 6: Exit the bath and warm up
Once the timer goes off, it's time to get out of the tub. Pat yourself dry with a towel and then put on your warm clothing. You might consider doing some jumping jacks or bodyweight movements for 5-10 minutes to regulate your temperature. Congratulations on your successful ice bath!
Drawbacks of At Home Ice Baths
When it comes to making your own ice bath, there are a few drawbacks. While simple to set up, it's not very easy (or fun) to do this set up daily or consistently. You can't manually set the temperature, it is quite time-consuming to set up and you'll probably end up making a bit of a mess. Also, each time you're going to have to head to the store to buy a bag of ice.
But, there is a simpler solution if you want to take ice baths more consistently. As we mentioned above, the Cold Plunge maximizes your experience by saving you time and energy during your session. You can set the temperature, its usable indoors and outdoors, and it has easy set up and clean up.
Click here to learn more about our Cold Plunge tub and add it to your routine today!


