Setup & Manuals
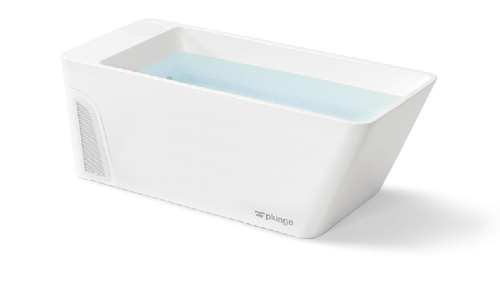
Plunge All-In
Fully integrated chiller and tub.
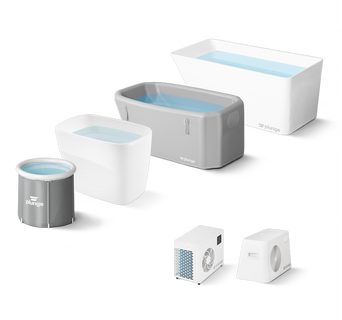
Plunge Evolve Series
Tubs with Evolve series chillers.
Check out The Plunge Evolve Series documentation for more information.
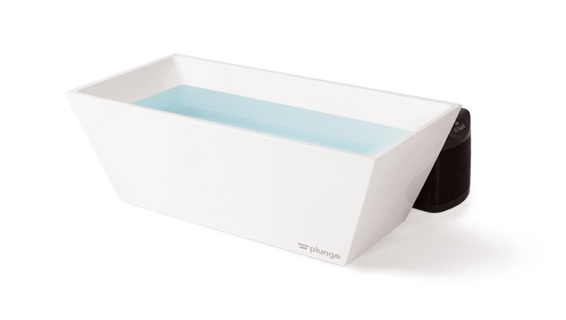
The Plunge (1st Gen)
Tub with original black chiller.
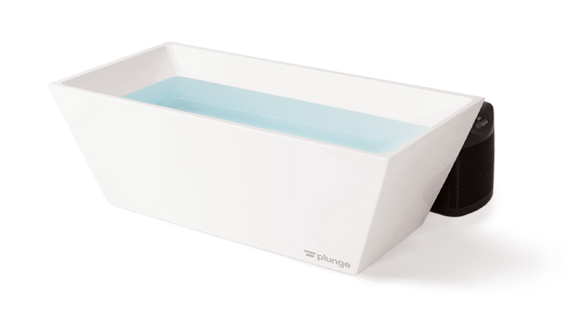
The Plunge Commercial (1st Gen)
Commercial tub with original black chiller.
Check out The Plunge Manuals for more information.

Plunge Sauna
XL and Standard Sauna information.
Check out the Sauna Help Center for more information.
Plunge All-In
Fully integrated chiller and tub.
Plunge Evolve Series
Tubs with Evolve series chillers.
Check out The Plunge Evolve Series documentation for more information.
The Plunge (1st Gen)
Tub with original black chiller.
The Plunge Commercial (1st Gen)
Commercial tub with original black chiller.
Check out The Plunge Manuals for more information.
Plunge Sauna
XL and Standard Sauna information.
Check out the Sauna Help Center for more information.