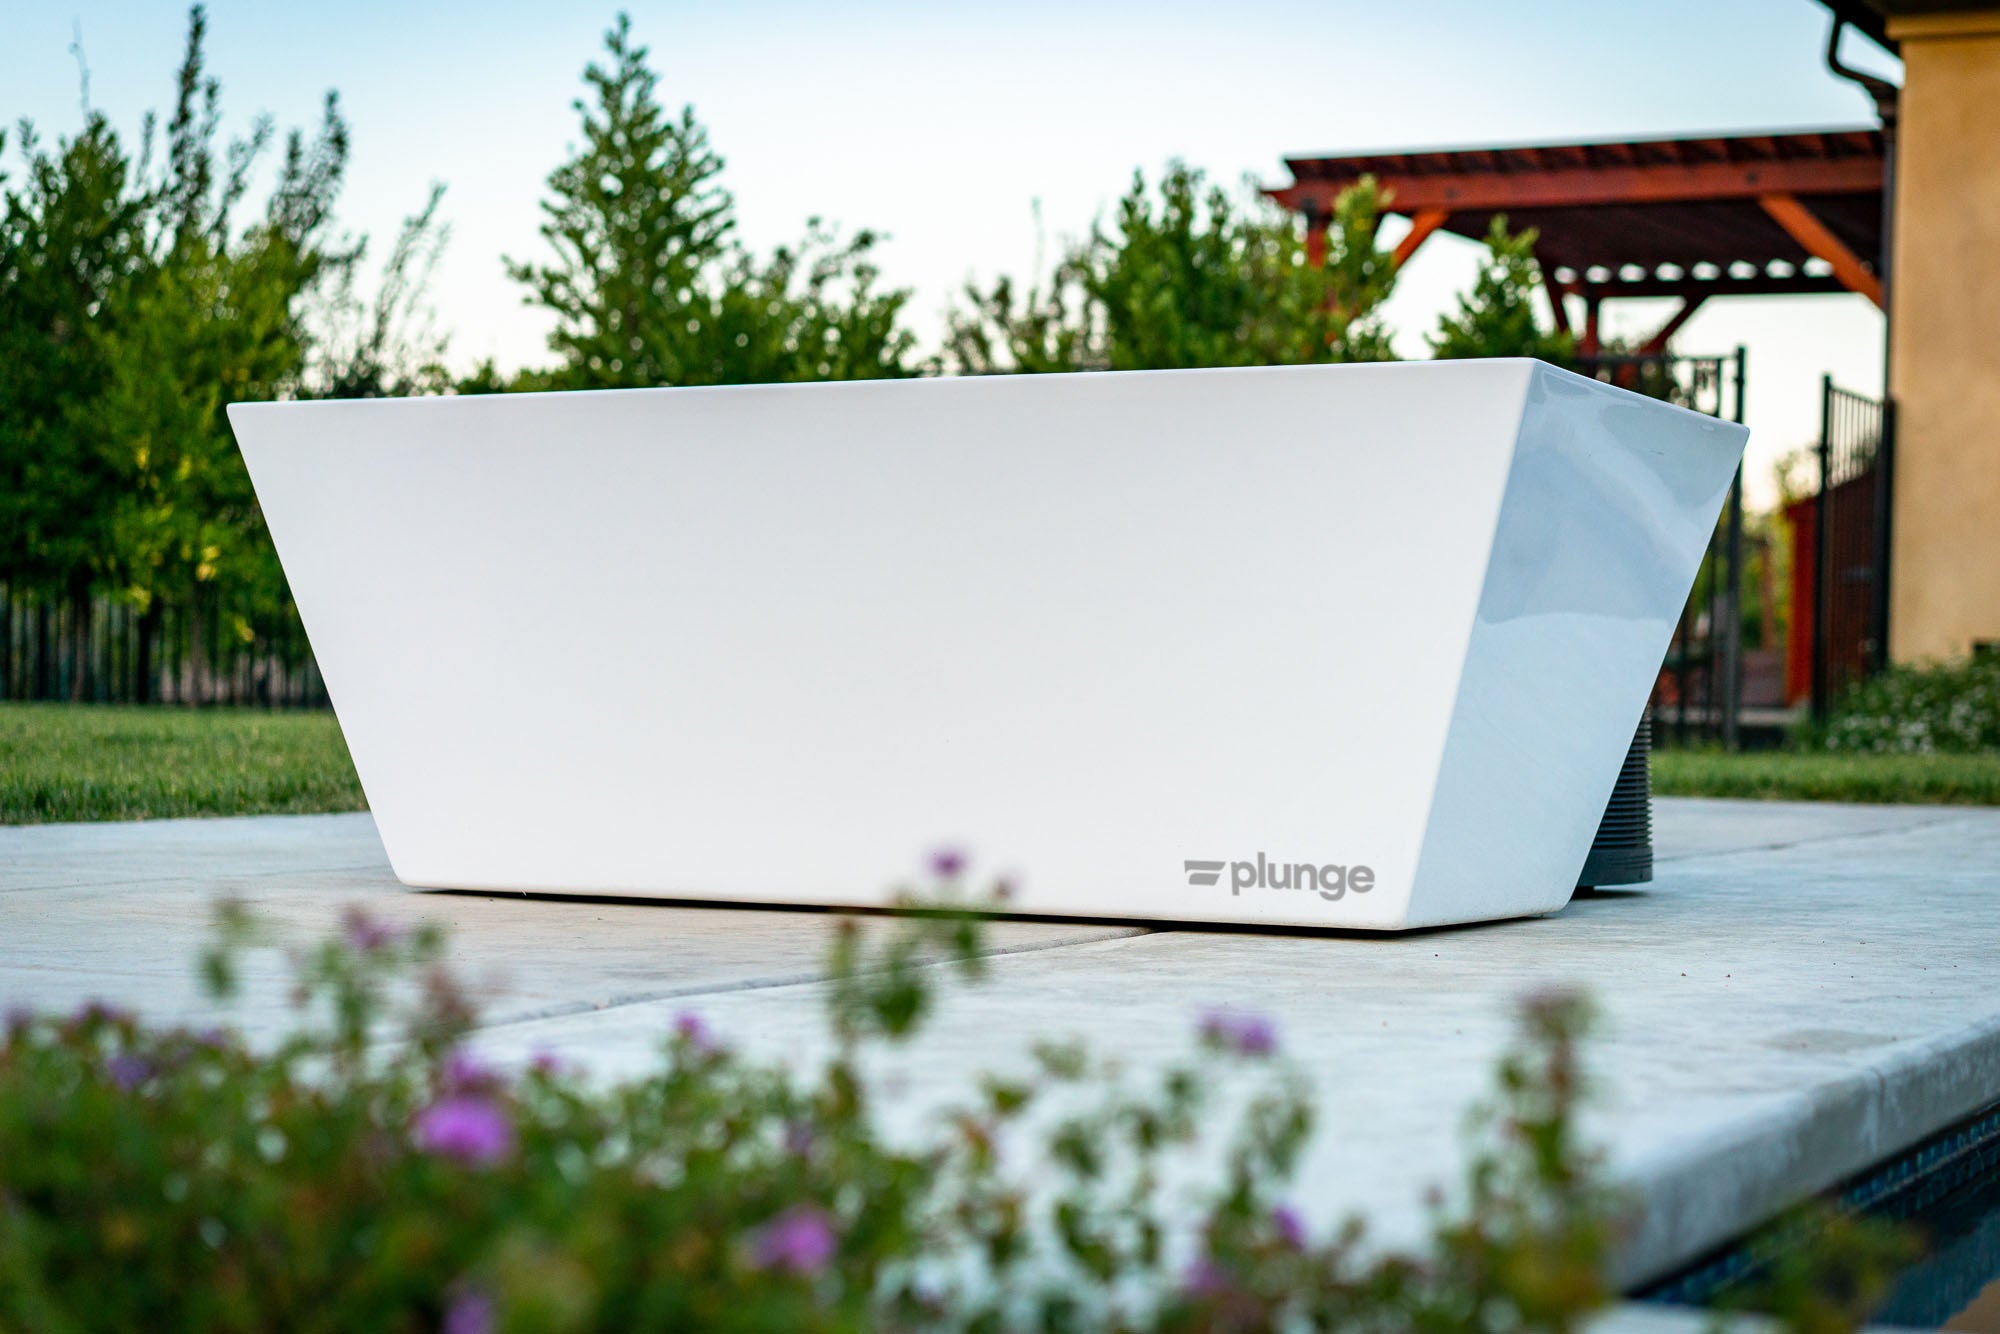
DIY Cold Plunge & Ice Bath: Different Types & How to Make Each
While an ice bath may seem simple at first glance, it can be complicated to make from scratch with the materials you have at home. As interest in cold plunging increases, many people have been looking for ways to try out cold water therapy at home without committing to purchasing a full cold plunge tub.
To help with these questions, we’ll explore the different approaches you can take for DIY cold plunges, the materials and tools needed for each, and step-by-step build instructions so you can test the waters of cold plunging and ice baths.
Jump to a method:
What is a DIY Cold Plunge/Ice Bath?
A DIY cold plunge, or do-it-yourself ice bath, is a therapeutic practice that immerses your body in cold water for a short duration. This age-old practice has gained popularity and interest due to its potential health benefits. Creating your own cold plunge at home can be a cost-effective way to try out cold water therapy to see if it’s something you want to pursue.
How Big Should It Be?
For most people, a container around 5 feet long, 2 feet wide, and 2 feet deep is a good starting point. There are also taller options for those who prefer to stand or sit more upright in the ice bath, so you should consider this factor as well. We typically recommend the seated or reclined position because of its comfort, accessibility, and reduced risk of slipping while in the tub.
Plumbing Considerations for DIY Cold Plunge
Incorporating a reliable drainage system allows for easy emptying and refilling of your plunge and makes cleaning much more manageable. Beyond drainage, it’s also worth installing recirculation and filtering systems to prevent bacteria from growing in the water and improve temperature consistency.
Can You Convert Your Bathtub into a Cold Plunge?
While you can convert a standard bathtub into an ice bath, other DIY methods are often more popular. A bathtub is typically still used for showering and bathing, meaning that ice has to be drained and refilled every time it’s used for cold plunging (which is not only time-consuming, but very costly). Bathtubs are also relatively shallow and don’t have effective insulation, which makes body immersion and temperature control challenging.
Different Approaches
Building DIY cold plunges opens the door to different approaches tailored to individual preferences, budget constraints, available space, and more. The most popular directions for home ice baths are:
Chest Freezer
Repurposing a chest freezer is a cost-effective method that often comes to mind because it’s a large container that is already designed to cool what’s inside. As a result, this approach may require fewer external components. However, you should ensure that it has proper insulation, effective drainage, and lid sealing to contain the cold.
Note: Due to safety hazards, this is not a method that we recommend unless you have someone else with you. Forgetting to unplug the freezer before getting in or the lid closing with you are inside are both potentially dangerous situations that come with this category of cold plunges.
Necessary Items
Besides the chest freezer (around $750 - $1,000 for one big enough), this approach will require:
- Installation Tools (hammer, screwdrivers, reciprocating saw, etc.)
- Waterproof Precision Temperature Sensor
- Insulation Materials (foam boards, spray foam, etc.): $150 - $350
- Sealing Materials (weather stripping, silicone caulk, or other waterproof materials)
- Waterproof Liner or Coating
- Submersible Pump: $50 - $100
- GFCI Outlet: $30 - $60
- Timer or Smart Plug: $20 - $40
- Water Filtration System: $30 - $70
- Anti-Slip Mats
- Drainage System: $100 - $200
- Recirculation System: $300 - $600
- Ongoing Supply of Ice: $1,000 - $8,000 per year, depending on usage
- Power Source
Total Estimated Cost (first year): $2,500 - $4,000
Build Process
- Select a unit with sufficient dimensions for a comfortable cold plunge experience.
- Choose a location with adequate space and proper ventilation.
- Clean the freezer so it’s free of any residual odors.
- Install your temperature sensor to track how cold the water will get.
- Connect the sensor to the chest freezer control to align your temperature setting with the water temperature.
- Measure and cut insulation materials, such as foam boards, to the dimensions of the chest freezer’s walls.
- Attach these panels and material to the interior walls and lid of the chest freezer.
- Secure the insulation materials securely using waterproof sealant or silicone.
- Ensure a tight fit to maximize insulation efficiency.
- Use waterproof sealant or silicone to seal any gaps or seams in the chest freezer.
- Repeat the previous step a second time to make sure all gaps are sealed.
- Apply weather stripping around the lid to prevent heat exchange.
- Cut or drill a hole in the bottom of the chest freezer for drainage, making sure that it fits the drainage system you’ve purchased.
- Install a submersible pump inside the freezer to recirculate the water, connected to a hose for water disposal.
- Add a water filtration system for debris-free water and to prevent bacteria growth.
- Place anti-slip mats inside the chest freezer for safety during entry and exit.
- Confirm that the lid is secure and can be easily opened from the inside (and that nothing nearby could fall onto or up against the lid).
- Install a GFCI safety outlet to protect against accidental electrocution.
- Add a plug timer to control the on/off refrigeration cycles.
- Use a clean water source to fill the chest freezer (this could be cold tap water, a hose, or purified water) to a level that allows for comfortable immersion.
- Empty ice bags or ice trays into the chest, distributing them evenly for consistent cooling.
- Make sure the freezer is unplugged before getting in.
Maintaining your chest freezer plunge:
- Regularly check and manage water quality to prevent bacterial growth and maintain a hygienic environment. Consider using chlorine tablets or other water-safe disinfectants.
- Establish a cleaning routine to remove any debris, impurities, or residue from the chest freezer. Use a mild cleaning solution to wipe down the interior surfaces.
- Keep an eye on the thermometer to maintain the desired water temperature and calibrate the controller if necessary.
- Frequently inspect the drainage system for any clogs or issues, cleaning the drain and pump regularly to prevent blockages or other issues.
- Periodically check the insulation materials for wear and tear, and replace or reinforce it to maintain optimal temperature retention.
- If a water filtration system is installed, follow the manufacturer's guidelines for replacing filters and cleaning components.
Drawbacks
- Space Limitations: Chest freezers may have limited interior space, restricting movement during the plunge.
- Modification Effort: Modifying the freezer may require more complex DIY skills, and the process could be time-consuming.
- Portability Challenges: Chest freezers are not very portable and therefore pose challenges around storage and transportation.
- Energy Consumption: Chest freezers are not designed for frequent temperature fluctuations, potentially leading to higher energy consumption.
- Insulation Wear: Over time, insulation materials may degrade, affecting the overall efficiency and insulation capability of the chest freezer (and increasing energy consumption).
- Maintenance Needs: Regular maintenance, including cleaning and water quality management, is necessary for hygiene and optimal performance.
- Water Disposal: Proper drainage solutions are crucial, and emptying the cold plunge may pose logistical challenges depending on where the freezer is located.
- User Safety: The interior edges of chest freezers may be sharp, posing a risk of injury during entry or exit. There are also significant risks related to electrocution or the lid closing and becoming stuck.
Ice Bath Barrel/Inflatable Tubs
Ice baths or inflatable tubs are another cost-effective DIY option and offer a portable and convenient solution. These come in various sizes and materials, providing some flexibility for different preferences and living situations.
Necessary Items
Besides your choice of ice bath or inflatable tub ($900 - $1,300), this approach will require:
- Installation Tools/Accessories (air pump, Allen wrench, etc.)
- Patch Kit (for inflatable tubs)
- Submersible Water Chiller: $700 - $1,500
- Insulated Debris Cover or Lid: $30 - $70
- Water Filtration System: $30 - $70
- Anti-Slip Mats
- Drainage System: $100 - $200
- Recirculation System: $300 - $600
- Ongoing Supply of Ice: $1,000 - $8,000 per year, depending on usage
- Power Source
Total Estimated Cost (first year): $3,500 - $6,000
Build Process
- Select a suitable plunge barrel or inflatable tub based on size and material preferences.
- Plan any modifications that need to be made for seating or other enhancements.
- Inflate the tub using an air pump or assemble the barrel’s pieces.
- Check that the tub is evenly and fully inflated to prevent deformation.
- Install a floating thermometer or digital gauge to monitor temperature.
- If not included, add a cover or lid to retain cold and prevent debris from getting in the bath.
- Confirm that the cover fits securely and is easy to remove.
- For inflatable tubs, keep a patch kit on hand for quick repairs in case of punctures.
- Place anti-slip mats inside the tub for safety.
- Install your external or submersible chiller, hooking up all necessary connections.
- Set up a drain plug or submersible pump for water drainage.
- Add grab bars or handles for stability during use, especially if you will be standing during the cold plunge or modifications have been made.
- Install a water filtration system for debris-free water and to prevent bacteria growth.
- Connect the filtration system to the tub, following manufacturer instructions.
- Implement a recirculation system to maintain consistent water temperature.
- Use a clean and suitable water source for filling the barrel or inflatable tub (this could be cold tap water, a hose, or purified water).
- Use ice bags or ice trays, distributing them evenly for consistent cooling.
- Fill the tub or barrel to a level that allows for comfortable immersion. Ensure the water covers the body adequately for the desired therapeutic effects.
Maintaining your barrel or inflatable plunge:
- Regularly check and manage water quality to prevent bacterial growth and maintain a hygienic environment. Consider using chlorine tablets or other water-safe disinfectants.
- Establish a cleaning routine to remove any debris, impurities, or residue from the tub. Use a mild cleaning solution to wipe down the interior surfaces.
- Keep an eye on the installed temperature system, whether it's a floating thermometer or digital temperature gauge, and calibrate as necessary.
- Frequently inspect the drainage system for any clogs or issues, cleaning the drain and pump regularly to prevent blockages or other issues.
- For inflatable tubs, keep a patch and repair kit accessible so you can immediately address any punctures or leaks.
- If a water filtration system is installed, follow the manufacturer's guidelines for replacing filters and cleaning components.
Drawbacks
- Temperature Fluctuations: Inflatable tubs may experience more rapid temperature fluctuations compared to other setups.
- Limited Seating Options: Some designs may not offer comfortable seating, impacting the overall experience.
- Material Sensitivity: Some users may be sensitive to the materials used in inflatable tubs, leading to skin irritation or discomfort during prolonged use.
- Durability Concerns: Inflatable tubs are more prone to punctures, requiring careful handling and maintenance.
- Maintenance Needs: Additional maintenance, including cleaning and water quality management, is necessary for hygiene and optimal performance.
- Pump Maintenance: The inflatable tub's pumps (air or water) may require regular maintenance, and any malfunctions can disrupt your ice baths.
- Inflation and Deflation Time: The process of inflating and deflating the tub can be time-consuming, affecting the convenience of the cold plunge experience.
Ready-Made Cold Plunges
For those seeking a more hassle-free option, ready-made cold plunge units are great options for moving beyond DIY. These are pre-designed, easy to install, and often come with integrated temperature control systems.
Necessary Items
Besides the cold plunge unit ($4,000 - $9,000), this approach will require:
- Installation Tools/Accessories
- Power Source
Total Estimated Cost: $4,000 - $9,000
Build Process
While this will depend on the model and brand you get, our cold plunge tubs require the following steps:
- Choose a location with adequate space.
- Screw on the “in” connection to the chiller.
- Fill the tub with a hose.
- Screw on the “out” connection from the chiller.
- Plug in your Plunge and chiller.
- Set the temperature and enjoy.
Drawbacks
- Cost: Ready-made cold plunge units can be more expensive upfront than DIY solutions, although often make up for it by being less costly and more convenient long-term.
- Space Requirements: Larger ready-made units may demand more space, limiting placement options in smaller homes or apartments. However, our Plunge models can go inside or outside, even fitting in bathrooms.
- Portability Challenges: Purpose-built tubs are often designed to stay in place and aren’t meant to be moved or transported.
Additional Tips & Recommendations
- Temperature Control: Invest in a reliable thermostat or temperature control device to maintain the desired water temperature consistently.
- Recirculation System: Add a recirculation system to maintain consistent water temperature during longer sessions. This can be particularly beneficial for DIY setups that may experience gradual temperature changes.
- Insulate External Surfaces: If part of the tub is exposed to external elements, such as air or sunlight, insulate those surfaces as well. This prevents unnecessary heat exchange and helps maintain a consistent water temperature.
- Rituals and Techniques: Enhance your cold plunge experience with mindful practices, such as deep breathing exercises or contrast therapy by alternating between hot and cold immersion.
- Safety Measures: Always prioritize safety. Install anti-slip features, consider handrails for stability, and never compromise on the structural integrity of your DIY cold plunge.
Why Investing in a Purpose-Built Tub May Be More Cost-Effective
DIY cold plunges are a great way to decide if cold water therapy is for you, but aren’t meant to be a long-term solution. Similar to other methods for starting cold water therapy at home, these can be introductory ways to test the waters, but maintenance and ongoing costs will add up over time. If cold water therapy is something you want to pursue, you’ll only get the full experience and benefit from purpose-built cold plunges, which will likely be more convenient in the long run.
From being ready whenever you are to automatic water filtering and recirculation for cleaner water to powerful chillers that remove the need for ice, these purpose-built tubs are the next step in your wellness journey. Learn more about the benefits of cold plunging, our lineup of models, including the deluxe Evolve XL, Plunge Pop-Up ice bath, and the inflatable Evolve Air. Learn about the available financing options and go all-in today!
Medical Disclaimer: The information contained in this post is for informational and educational purposes only. It is not intended to provide medical advice or to take the place of such advice or treatment from a personal physician. All readers/viewers of this content are advised to consult their doctors or qualified health professionals regarding specific health questions or before embarking on any new health or wellness routine. Neither the author(s) nor the publisher of this content take responsibility for possible health consequences of any person or persons reading or following the information in this educational content. All viewers of this content, especially those taking prescription or over-the-counter medications, should consult their physicians before beginning any cold plunging routine or other health or wellness program.


